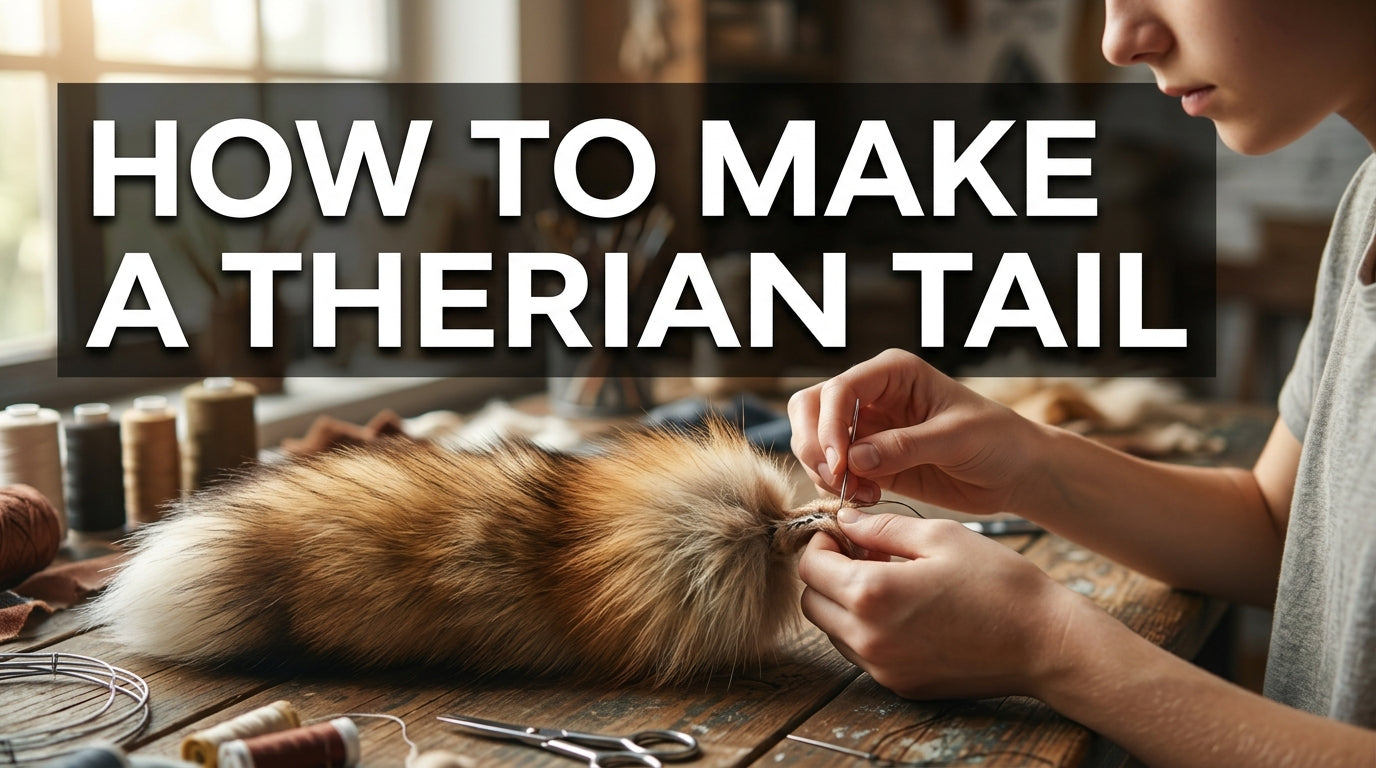
How to Make a Therian Tail
Making your own therian tail is one of the most rewarding DIY projects in the therian community. Whether you identify as a wolf, fox, cat, or any other animal, a handcrafted tail adds a powerful physical connection to your theriotype. This guide walks you through everything you need, from materials to finishing touches.
🐾 What Is a Therian Tail and Why Make One?
A therian tail is a wearable accessory that represents the animal a therian identifies with. Unlike costume tails made for Halloween, therian tails are crafted with intention, meant to reflect a genuine identity. They are worn during quadrobics, meditation, or simply as part of everyday expression.
Making your own tail gives you full control over the species, color, length, and texture. Store-bought options rarely match a specific theriotype perfectly. A DIY therian tail can be customized down to the exact shade of fur or the precise curve of the tip, making it far more personal and meaningful.
Handmade tails also tend to be more durable and better fitted to your body when done correctly. Many experienced therians prefer them over commercial alternatives for this reason.
🧵 Materials You Need to Make a Therian Tail
Gathering the right supplies before you start saves time and frustration. The materials you choose will determine the final look, weight, and feel of your tail. Here is what most makers use for a standard faux fur therian tail.
Core Supplies
- Faux fur fabric – choose pile length based on your theriotype (short for cats, long for wolves or foxes)
- Polyfill stuffing – lightweight and washable, ideal for shaping
- Belt clip or D-ring – for attaching the tail to a waistband or belt loop
- Sewing machine or needle and thread – a machine speeds up the process significantly
- Fabric scissors – sharp scissors are essential for clean faux fur cuts
- Pins or fabric clips – to hold pieces together while sewing
Optional extras include wire armature for a poseable tail, fabric paint or chalk for color blending, and a tail base plug for a more secure wearable attachment. The total material cost for a basic DIY tail ranges from $10 to $30, depending on fur quality and size.
Choosing the Right Faux Fur
Faux fur comes in dozens of pile lengths and textures. For a wolf therian tail, aim for a medium-to-long pile in gray, black, or brown. For a fox therian tail, look for orange or red fur with a white tip option. Cat tails work well with short-pile fur in almost any color pattern.
Buy from fabric stores or online suppliers that sell by the yard. You typically need half a yard to one full yard of fabric for a single tail, depending on the desired length and fullness.
📐 How to Make a Therian Tail: Step-by-Step
This method covers the most common approach, a sewn faux fur tail with a belt clip attachment. It suits beginners and produces a clean, durable result.
Step 1 – Create Your Pattern
Draw your tail shape on paper first. A basic tail is a long teardrop or tapered cone shape. Decide on your desired length, anywhere from 30 cm to over 60 cm is common. Add a 1.5 cm seam allowance around all edges before cutting your pattern out.
Fold the pattern in half lengthwise to check for symmetry. Adjust the curve at the tip to match your theriotype. A wolf tail curves slightly upward, while a fox tail often has a fuller, rounder tip.
Step 2 – Cut the Fur Fabric
Lay your faux fur face down and trace the pattern onto the back. Always cut faux fur from the back using the tips of your scissors, not the full blade. This prevents cutting through the pile and keeps the fur looking natural along the seam edges.
Cut two mirrored pieces for a fully sewn tail. If you want a contrasting belly or tip color, cut those sections separately and plan your seams accordingly.
Step 3 – Sew the Pieces Together
Pin the two fur pieces together, right sides facing inward. Sew along the edges using a straight stitch, leaving the top open for stuffing and attachment. Sew slowly around curves to keep the line clean.
Once sewn, trim excess seam allowance and clip into curved areas to reduce bunching. Turn the tail right-side out carefully. Use a blunt object like a pen cap to push the tip fully through.
Step 4 – Stuff and Shape
Fill the tail with polyfill stuffing, working from the tip upward. Pack the tip firmly and loosen the stuffing toward the top for a more natural drape. Avoid overstuffing, which makes the tail stiff and unnatural looking.
If you want a poseable therian tail, insert a wire armature before stuffing. Use thick craft wire or a pre-bent wire frame, and wrap it in foam tape first to prevent it from poking through over time.
Step 5 – Attach the Clip or Loop
Fold the raw top edge inward and insert your belt clip, D-ring loop, or waistband attachment. Stitch across the top securely, going over the attachment point multiple times. This is the highest-stress area of the tail, so reinforced stitching here is important.
Test the attachment by gently tugging before wearing. If it shifts or feels loose, add an extra row of stitches or use a heavier thread for this section.
🎨 Finishing and Customizing Your Therian Tail
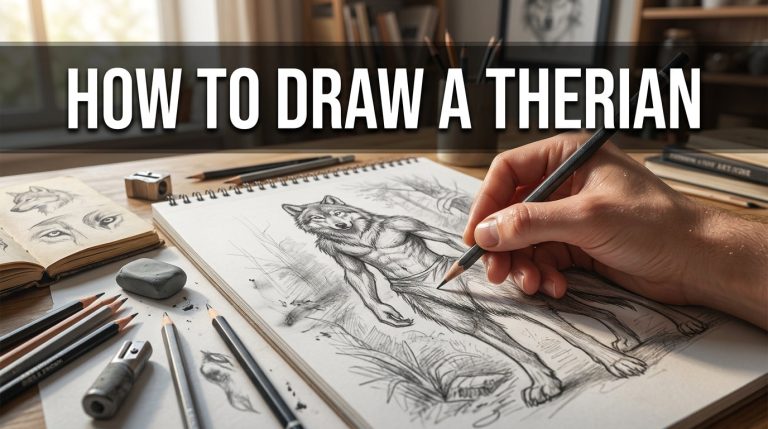
Once your tail is assembled, the finishing details are what make it truly yours. Many therian tail makers spend as much time on customization as on construction. If you enjoy drawing your theriotype, you might also enjoy learning how to draw a therian as a complementary creative skill that helps you visualize your design before committing to fabric.
Brushing and Grooming the Fur
Use a pet slicker brush or a wide-tooth comb to fluff the faux fur after turning it right-side out. Brush in the direction of the pile for a smooth look, or against it for a fuller, wilder appearance. This step makes a significant difference in the finished quality.
For seam areas where the fur looks flattened, use the tip of a pin to gently pull individual fibers through. This blends the seam into the surrounding fur almost invisibly.
Adding Color and Markings
Use fabric chalk or acrylic paint thinned with water to add markings like stripes, spots, or gradient shading. Apply with a stiff brush and work in layers. Always test on a scrap piece first. Chalk washes out, while diluted acrylic is more permanent but can stiffen the fur if applied too heavily.
Tail Comparison by Theriotype
| 🐾 Theriotype | Fur Pile Length | Tail Shape | Common Colors |
|---|---|---|---|
| Wolf | Medium-long | Tapered, slight curve | Gray, black, brown |
| Fox | Long, fluffy | Full, rounded tip | Orange, red, white tip |
| Cat | Short | Slim, slightly curved | Any, tabby patterns |
| Dog | Short-medium | Straight or curled | Breed-specific |
⚠️ Common Mistakes to Avoid
Even experienced sewers run into issues when making therian tails for the first time. Knowing what to watch for saves materials and effort.
- Cutting through the pile – always cut from the back to preserve fur texture at seams
- Overstuffing – too much fill makes the tail look rigid and unnatural
- Skipping seam reinforcement – the top attachment point will fail without extra stitching
- Using the wrong fur direction – check that the pile runs downward on the finished tail
- Ignoring the pattern symmetry – uneven sides are visible once the tail is turned out
If your stitching puckers along curves, try clipping small notches into the seam allowance before turning. This is one of the most common beginner issues and the fix is simple once you know it.
🐺 Wearing and Caring for Your Therian Tail
A well-made tail should last for years with basic care. Attach it to a sturdy belt or waistband using the clip or loop you installed. Avoid attaching it to flimsy fabric that might tear under movement, especially during quadrobics practice.
To clean your tail, spot-clean with a damp cloth for minor dirt. For a full wash, hand wash gently in cool water with mild detergent and allow it to air dry completely. Machine washing can damage faux fur pile and distort the shape.
Store your tail hanging or loosely rolled, never compressed under heavy objects. Compression flattens the pile permanently. If the fur loses its fluff over time, a light brushing usually restores it. For those new to therian terminology and identity, understanding how to pronounce therian correctly is a small but meaningful part of engaging with the wider community.
Final Thoughts
Making a therian tail by hand is a creative, personal process that connects you more deeply to your theriotype. With basic sewing skills, the right faux fur, and a clear pattern, you can build something that no store-bought tail could replicate. Start simple, focus on fit and durability, then add custom details over time. Your first tail will teach you more than any guide can, and each one you make after that gets better. Take your time, enjoy the process, and wear it with confidence.