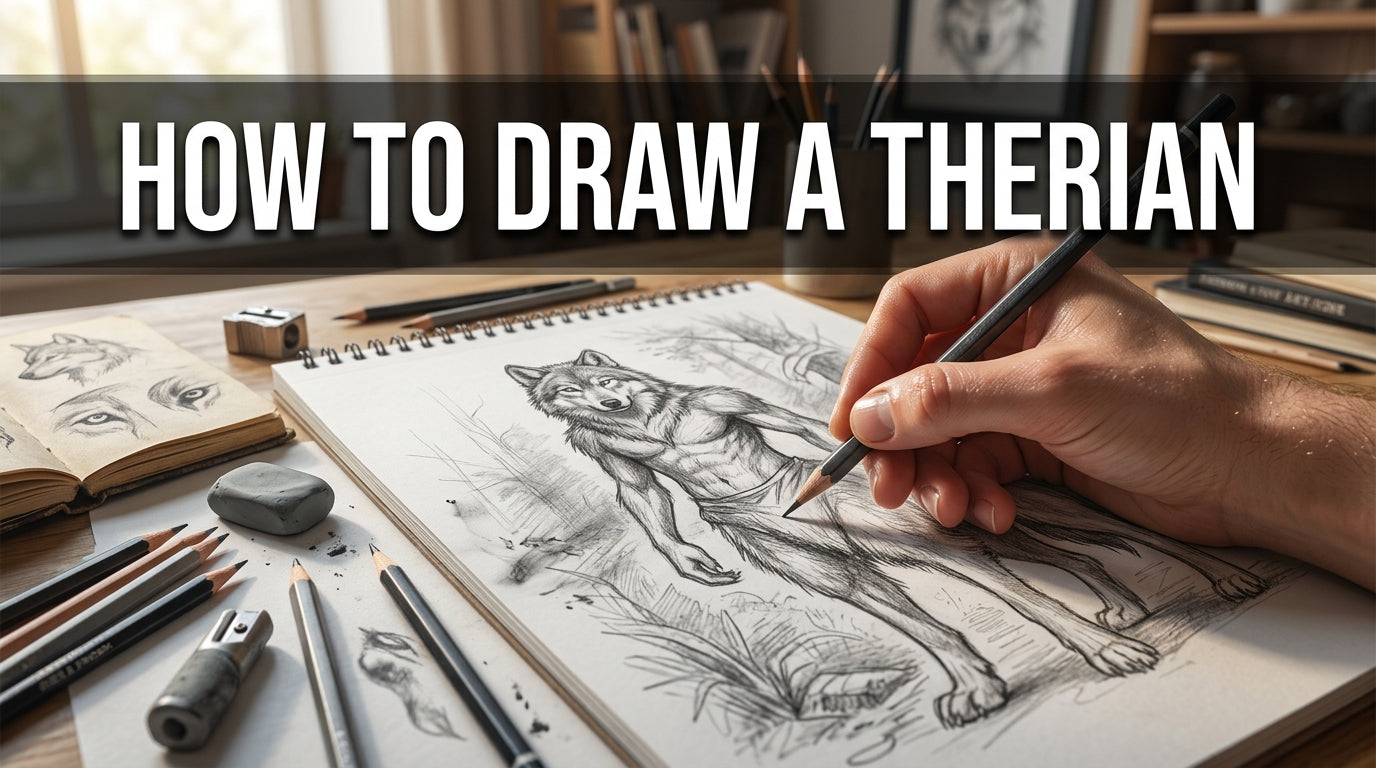
How to Draw a Therian
Drawing a therian character is one of the most personal and creative projects in the therian community. Whether you’re capturing your wolf, fox, deer, or big cat theriotype, getting the anatomy and spirit right takes practice. This guide breaks down the process step by step, from basic shapes to expressive details.
🐾 What Is a Therian Character (and Why It Matters for Your Art)
Before putting pencil to paper, it helps to understand what you’re drawing. A therian character is a representation of a person’s theriotype, the animal they identify with on a spiritual or psychological level. This isn’t just fan art or a fantasy creature. It’s a meaningful self-portrait in animal form.
Because of that personal connection, therian art tends to be more intentional than casual creature drawing. Artists in this space often focus on specific markings, postures, and expressions that feel authentic to their identity. Your drawing doesn’t have to be anatomically perfect, but it should feel right to you.
Common theriotypes people draw include wolves, foxes, dogs, cats, deer, ravens, and big cats like lions or tigers. Each has distinct anatomy worth studying before you start sketching.
🎨 Gathering Your Tools Before You Start
You don’t need expensive equipment to draw a therian character well. What matters more is consistency and practice. That said, having the right tools makes the process smoother.
Traditional Drawing Supplies
For paper-based work, a few essentials will cover most needs:
- Pencils (HB, 2B, 4B) for sketching and shading
- Fine-tip ink pens (0.3mm to 0.5mm) for clean linework
- Kneaded eraser for lifting graphite without smudging
- Smooth Bristol paper or sketchbook with at least 90gsm weight
- Colored pencils or watercolors for adding fur tones and markings
Digital Drawing Tools
Digital art has become the go-to for many therian artists because of how easy it is to adjust proportions, experiment with colors, and share work online. A drawing tablet (even a basic Wacom Intuus) paired with free software like Krita or paid tools like Procreate gives you enormous flexibility. Layers are especially useful when building up fur texture and facial details.
| Feature | Traditional 🖊️ | Digital 💻 |
|---|---|---|
| Cost to start | Low ($10-30) | Medium ($50-200+) |
| Undo/redo | ❌ Not possible | ✅ Unlimited |
| Texture feel | ✅ Natural | Varies by brush |
| Sharing ease | Needs scanning | ✅ Instant |
| Best for | Beginners, tactile learners | Iterative, detail-heavy work |
✏️ Step-by-Step: How to Draw a Therian Character
The process below works for most quadruped theriotypes (four-legged animals). If your theriotype is a bird or a more unusual creature, some steps will vary, but the foundational approach stays the same.
Step 1 – Start with Basic Shapes
Resist the urge to jump straight into details. Start every therian drawing with simple geometric shapes as a skeleton structure. Use circles for the head and major joints, ovals for the torso and haunches, and cylinders for the limbs. This is called a “gesture sketch” and it locks in proportions before you commit to anything.
For a wolf or dog theriotype, the torso oval is roughly twice the size of the head circle. The neck connects at a slight forward angle. Getting this foundation right makes everything easier later.
Step 2 – Block in the Silhouette
Once your shapes are placed, loosely connect them with flowing lines to create the outer silhouette. Don’t draw fur yet. Focus on the underlying muscle and body mass. Think of this stage as drawing the animal without its coat. This helps you understand where the body actually sits beneath all that texture.
Pay attention to the spine line, which curves differently depending on pose. A relaxed standing pose has a gentle arch. A crouching or alert pose compresses the spine and raises the shoulder blades noticeably.
Step 3 – Refine the Head and Facial Features
The head is where most of the identity lives in therian art. Different theriotypes have very different skull shapes. A fox has a narrow, tapered muzzle and large triangular ears. A wolf has a broader, more powerful jaw. A deer has a delicate, elongated face with soft eyes and mobile ears.
Draw a center line down the face and a horizontal line for eye placement. Eyes typically sit about halfway down the skull. Ears should be placed higher than you think, often at or above the top of the eye line. A common beginner mistake is placing ears too low, which makes the face look flat or incorrect.
Step 4 – Add Fur, Markings, and Texture
This is where your therian drawing comes to life. Fur isn’t just random lines. It follows the contours of the body and grows in specific directions. Study reference photos of your theriotype to understand how fur flows around the face, chest, belly, and limbs.
For distinctive markings, sketch them lightly first and check the symmetry (if they’re symmetrical) before committing with darker lines. Therian artists often include personal markings that are unique to their theriotype, so don’t be afraid to customize. Sock markings, facial masks, underbelly patches, and stripe patterns are all common.
If you’re working digitally, use a separate layer for markings so you can adjust them independently. If you’re working traditionally, use a light colored pencil before going in with ink or darker graphite.
Step 5 – Work on Expression and Posture
A therian character drawing should feel alive. Expression comes from the eyes, ears, and mouth together. Ears pinned back suggest fear or aggression. Ears forward and alert suggest curiosity. A relaxed open mouth reads as playful. Narrowed eyes with a raised upper lip signals warning.
Posture carries just as much weight. A low, wide stance reads as grounded and calm. A raised tail and upright posture reads as confident. Think about what mood or moment you’re trying to capture and let the whole body reflect that, not just the face.
If you’re also interested in physical therian crafts, learning how to make a therian mask can actually help your drawing practice. Building a 3D mask forces you to think about facial structure and proportions from multiple angles, which translates directly into more confident 2D art.
🐺 Drawing Specific Theriotypes: Tips by Animal
Each theriotype has anatomy quirks worth knowing. Here are focused tips for the most commonly drawn therian characters.
Wolf and Dog Theriotypes
Wolves have large paws relative to body size, especially in younger animals. The chest is deep and the waist is tucked. The tail is bushy and hangs low when relaxed, raised when alert. Don’t make the muzzle too short or the animal will read as domestic dog rather than wild wolf.
Fox Theriotypes
Foxes are leaner and more angular than wolves. The ears are proportionally huge. The tail (brush) is incredibly full and often as long as the body. The legs are slender. Fox eyes are almond-shaped with vertical pupils, which gives them a distinctly different look from canines.
Deer and Cervid Theriotypes
Deer have long, elegant legs with small hooves. The neck is long and graceful. The eyes are large and positioned on the sides of the head, giving a wide field of view. If drawing antlers, study reference carefully. Antler growth is complex and asymmetrical errors are very noticeable. Velvet antlers look fuzzy and soft, while hardened antlers are smooth and branched.
Feline Theriotypes (Big Cats)
Big cats like lions, tigers, and leopards have extremely flexible spines and powerful shoulder muscles. The head is large and rounded. The paws are broad with retractable claws. When drawing a big cat in motion, the spine bends dramatically, much more than a dog or deer would. Pay attention to how the shoulder blades move independently from the ribcage.
🖌️ Adding Color and Final Details
Color is where a therian character becomes truly personal. Start with a flat base color layer, then add shadows and highlights to create volume. Shadows fall on the underside of the body, beneath the chin, inside the ears, and in the fur where layers overlap.
For a realistic fur effect, use short, directional strokes that follow the growth pattern. Vary the pressure (or brush opacity digitally) to create depth. Rim lighting, a subtle bright edge on one side of the figure, adds a professional look and separates the character from the background.
Eyes deserve special attention. A well-painted eye with a clear highlight and layered iris colors can make an entire drawing feel finished and expressive. Don’t rush this part.
Once your therian drawing is complete, you might find yourself wanting to bring the character into the physical world. Many artists in the community go on to create gear and accessories inspired by their art, and a great starting point is learning how to make a therian tail that matches your character’s design and color palette.
✅ Common Mistakes to Avoid When Drawing Therian Characters
Even experienced artists run into the same recurring issues. Knowing what to watch for saves a lot of frustration.
- Skipping the gesture sketch and going straight to detail, which leads to proportion problems
- Drawing all fur strokes the same length and direction, which looks flat and unnatural
- Placing eyes too high on the skull or ears too low on the head
- Making the muzzle too short or too long for the specific theriotype
- Ignoring reference photos and drawing from memory alone
- Rushing the shading phase, which is where most of the depth and realism comes from
Using reference images is not cheating. Professional illustrators use references constantly. Collect photos of your theriotype in different poses and lighting conditions and keep them open while you draw.
Final Thoughts
Drawing a therian character is a skill that builds over time. Start simple, focus on proportions before details, and always use reference. The most important thing is that your drawing captures something true about your theriotype, whether that’s a specific marking, a familiar pose, or an expression that feels like you. Keep practicing, study animal anatomy regularly, and don’t be afraid to redraw the same character dozens of times. Each version teaches you something new.